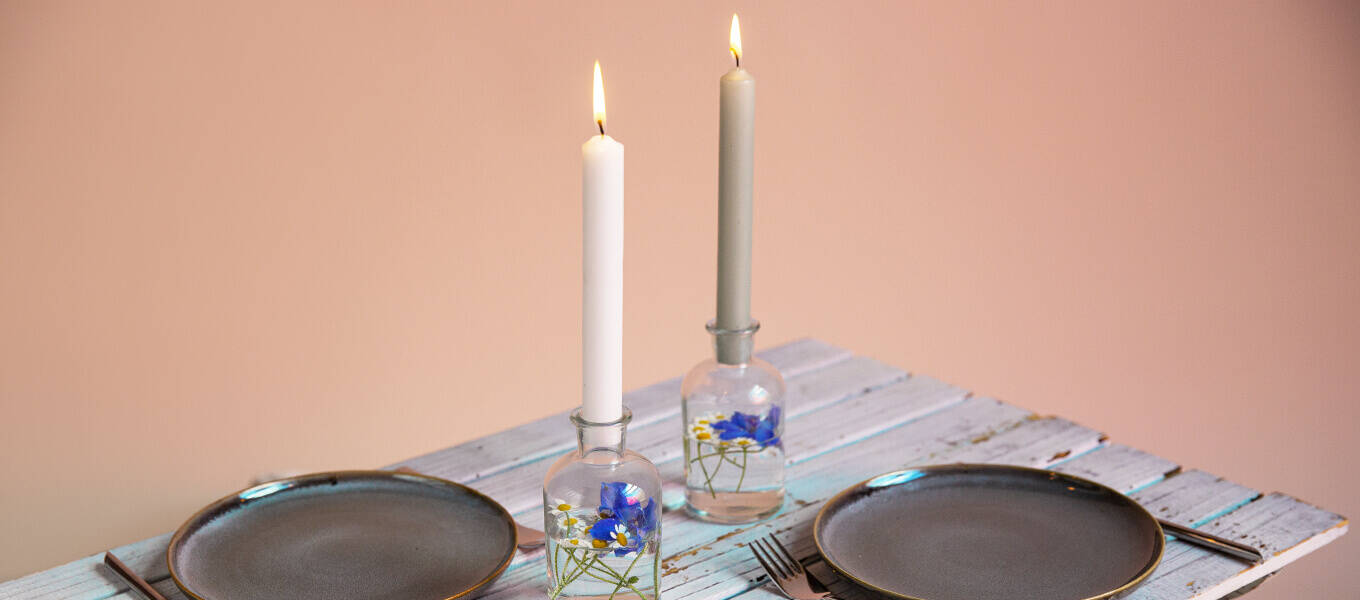
DIY: make your own flower crown
Festival season has begun! Sun, music and dancing in the open air naturally go hand in hand with the right styling. Hair crowns made of real flowers are THE trend accessory of the summer - they simply enchant every hairstyle and go with every outfit. Grab a few flowers and let's go!
Instructions for the flower hair wreath


")


")


")


")


")


Step 1: Measure the wire
First try to measure your head with the wire and then form a wire hoop from this circumference: It should fit your head comfortably but not too loosely. This wire hoop forms the basis for your hair wreath.

Step 2: Wrap the basic structure with florist tape
Wrap the florist's tape completely around the wire so that the hair wreath later has more stability.

Step 3: Attach the flowers to the wreath
You can then gradually arrange the flowers in small bunches on the wire and wrap the florist's tape around them so that all the flowers are firmly secured. Always place the flowers in the same direction and work your way round the whole wreath in this way.

Step 4: the finishing touches
Finally, add the finishing touch to the hair wreath with the ribbon. To do this, simply take a ribbon of your choice and tie it around the wreath (perhaps with a small bow if you like).

That's it!
Now carefully place the wreath on top and you're ready for the festival of your choice or the Swedish Midsummer Festival.
Wir empfehlen:
To match, we recommend: