Flower Card DIY Idea - Say Thank You with a Self-Designed Card
It doesn't always have to be a big gift - sometimes a small gesture is enough to put a smile on someone's face. Vera shows you a simple idea for a thank you card with flowers that makes this possible with very simple means.
Required materials:
- DIN A4 photo cardboard 300g/m2
- Printer & freebie template
- Cutter, ruler and cutting mat
- beautiful cut flowers*
- Flower tubes*
* You can obtain these materials from your local Fleurop partner.
Instructions for the simple thank you card
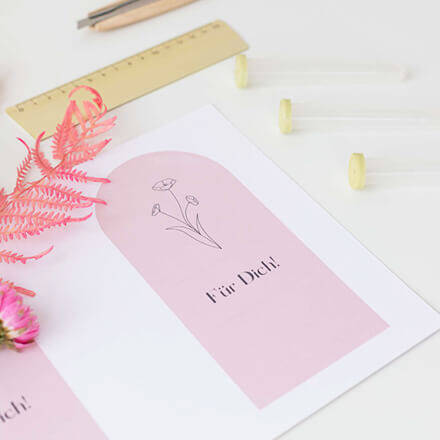
Step 1: Print out freebie
First, print out the freebie on the A4 photo card. Vera gave her card in A5 format and therefore received 2 cards from one A4 sheet of photo card.
Step 2: Cut the card
On the cards you will find two very fine lines drawn above and below the "For you" text section. Using a ruler, you can cut these with the cutter. This is where you will attach the flower tube later.
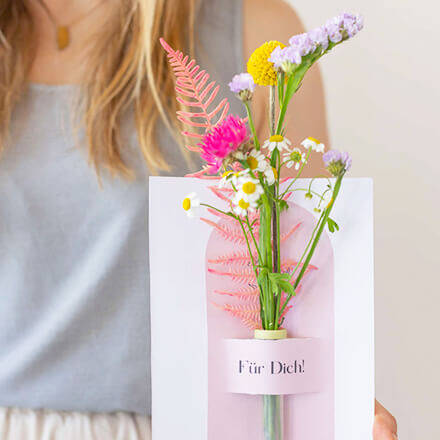
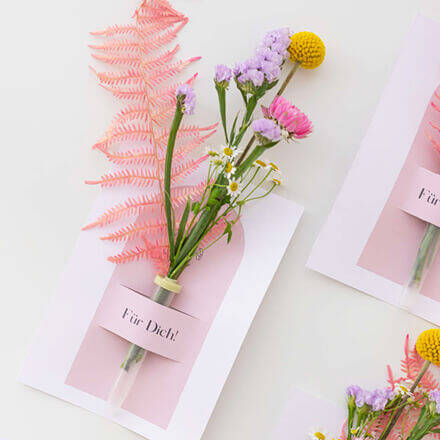
Step 3: Arrange the flowers
Finally, fill the flower tube with a little water and arrange a few individual flowers in it. Then thread the tube between the two slits in the card and your little thank you is ready in no time at all!

Vera's heart has always beaten for beautiful interior design things and DIY. She turned this passion into her profession in 2016 and has since been sharing creative DIY ideas and inspiration about beautiful living on her blog „studiovea", which is intended to motivate her readers to become creative themselves.